All in all, it was a good day. But not for my white shirt. My electrode-grade graphite rod came in, and that was all I needed to start fabricating the nozzle. What I thought was going to be incredibly laborious ended up actually being very simple. Rather than follow my plan as explained to my BASIS advisors (sorry guys), I decided to ditch using the lathe altogether. The lathe at Mishaal can only grab items larger than 2in diameter; the graphite rod is 3/4in. Not wanting to putter around trying to make a collar to hold the graphite rod in the lathe and wait and wait and wait until it finished, I decided to use the drill press instead. My on-site advisor Mr. Loehr and his son Robert keenly brought out an array of drill bits that could be improvised for reaming the graphite piece.
 |
| 12.5in by .75in diameter graphite rod, Dollar bill for scale |
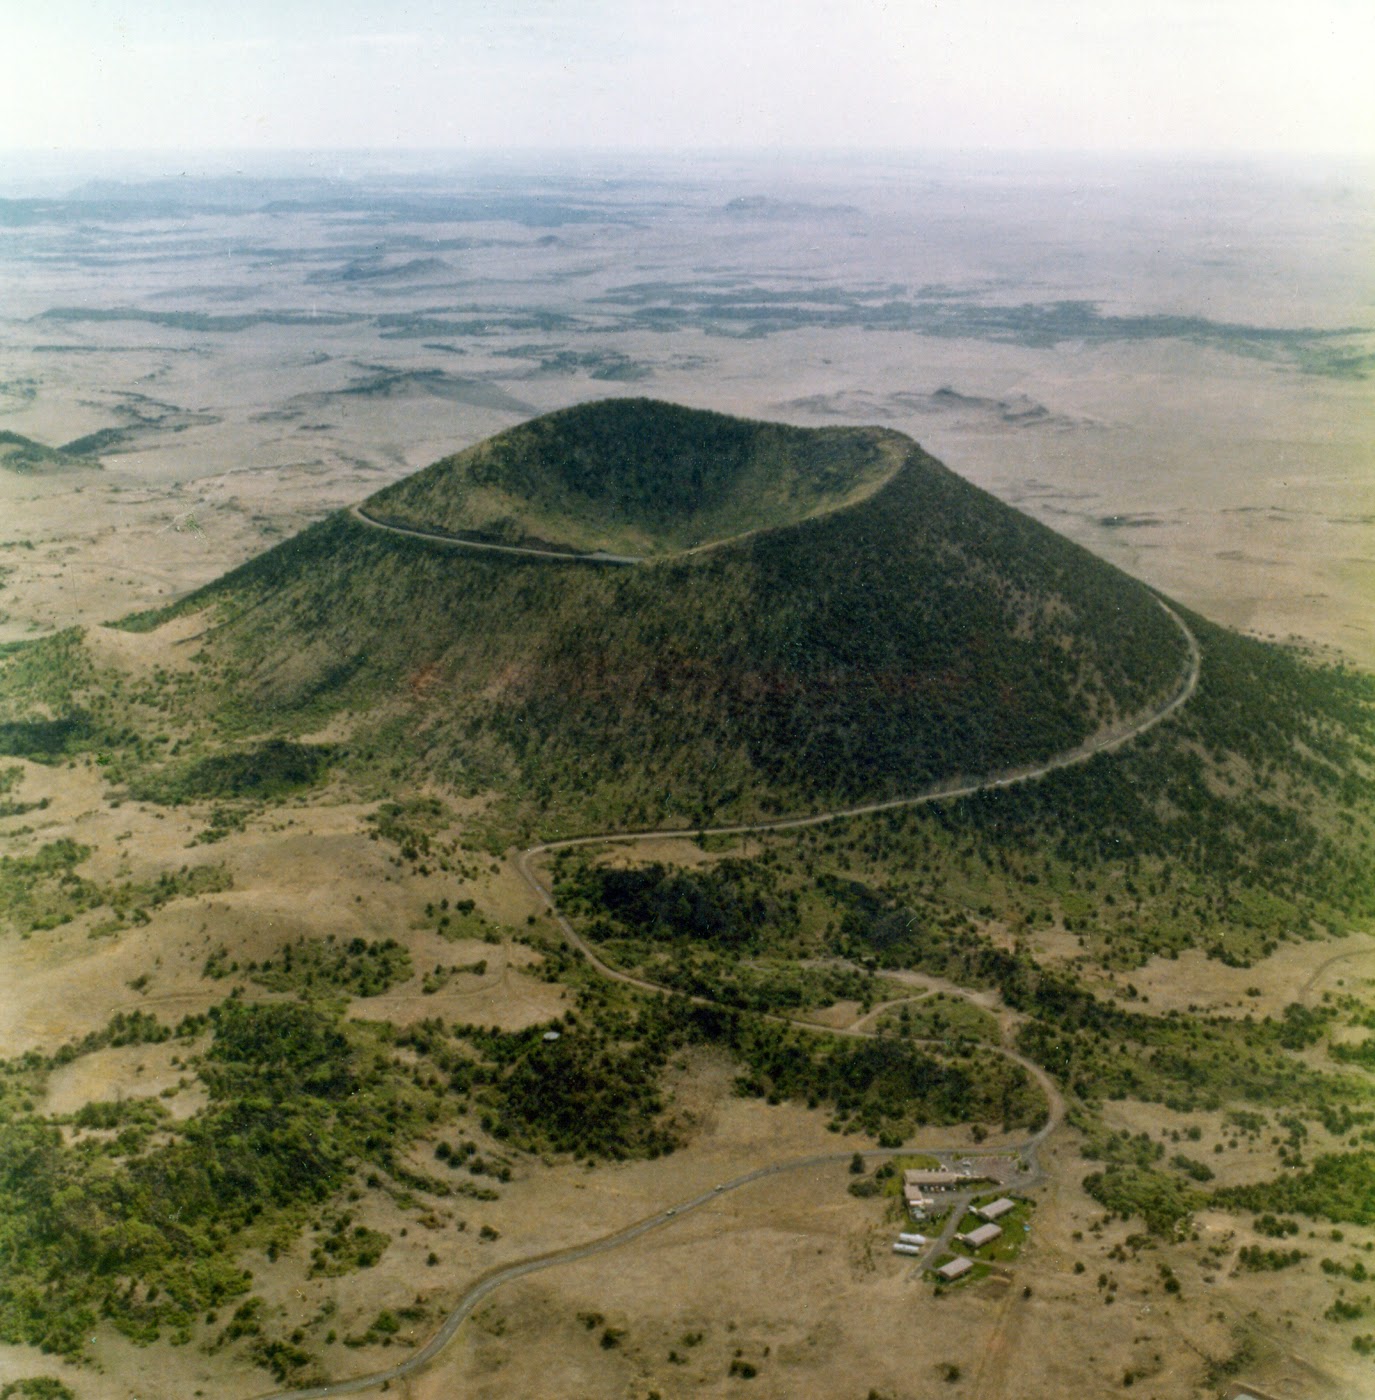
Using a hacksaw, I lopped off roughly 3/4in of the graphite rod, held in a vice. I wasn't careful, and gravity pulled the piece off before I could finish it with a clean cut. This resulted in a chip in the graphite and a bit left to file down. After this, I drilled a 1/8in pilot hole through the small graphite cylinder, shown below. I thought it looked like a cinder cone volcano-the red laser beam looking like flowing lava. As much as I thought it was an industrial piece of art, I had to blow the dust off and stare at the pilot hole, just a tiny bit off-center (the drill press sucks, it wobbles, and the belts come loose. Every guy in the shop is waiting anxiously for a new one).
Left: Cinder Cone volcano in Utah. (wiki images) Right: Graphite Nozzle after drilling pilot hole. Click to enlarge.
With a 15/64in drill bit, I bored through the nozzle. My throat has to be 1/4in, so I accounted for the wobble and sized one bit down, yielding a nice 1/4in diameter throat through the graphite nozzle. Only it wasn't centered. I repeated the process, more careful with the hacksaw and centering. The second attempt worked beautifully. To finish the nozzle, I had to taper both ends. Here is the diagram:
 |
| L to R: Boring Bit, 1/8in bit, 15/64 bit, stepped drill bit, finished graphite nozzle |
The convergent end of the nozzle (noted as 'CONV' on the diagram, left side) is the piece that is on the interior of the rocket. It is where the gasses produced during reaction seek to escape, and it is important that the interior wall of the nozzle be smooth here. Using a boring drill bit (gray, far left on image), we achieved roughly a 30° half-angle taper. Success. For the other side, the divergent end (DIVR), where the gas escapes and creates thrust as it expands, we used a step drill, a drill bit that has wider and wider sections as it goes in (bronze, rightmost on image). This achieved roughly a 15° half-angle, stepped of course. A small section of 1/4in throat lies in between the convergent and divergent holes. This is a successful, well made nozzle, if I may say so.
The nozzle is a tad small for mt rocket chamber, but some O-rings will wedge it in just fine.

After this, Robert and I tried to mount the nitrous valve to the aluminum sheet holding up the rocket, but our quick method of using zip ties just didn't hold. We moved on to putting a small section of 1/8in nylon tubing into the rocket's bulkhead, and it will connect to the nitrous valve in the future.
The nylon tubing is wonderful because it has a burst pressure of approximately 1500psi. That means that if there was a backfire with the rocket, the nylon tubing will rupture, rather than letting the reaction travel into the nitrous valve and blow up my $42-with-free-shipping gadget.
After this, I thought I would take off. However, I decided to watch as some experiments were going on.
Friction Stir Welding. Never heard of it? Neither had I until today. But it's about the coolest damn thing ever (if you're into this stuff at least). The premise: weld two pieces of metal together without melting either. "What? How? That doesn't make sense," I said, as you might be saying yourself as you read this. I can't say I fully understand the specifics, but I'll try to explain best I can:
1. A high pressure, high rotation speed (1000-2000 rpm) specially made drill bit presses into the crease between two separate aluminum coupons.
2. It bores a hole, and starts slowly moving along the border between the two sheets of aluminum.
3. The heat and pressure and movement from the friction of the drill bit increase the plasticity of the metal, and literally mix the still-solid aluminum from both pieces together, like play-doh.
4. The weld cools, and both pieces are fused to each other, and a hollow trough under the weld is formed.
 |
| The weld is clean, strong, and consistent. |
It's vague from what I said, sorry. I have a hard enough time understanding it myself. It was discovered in 1991, and very little data is available on it. However, these welds are convenient because they do not melt the metal ever, meaning that the metal does NOT have to be heat treated to regain its original, pre-weld strength. This cuts cost and allows aluminum alloys like 70-71 to be used more easily in the fabrication of complex, high strength components. SpaceX is currently experimenting with the same method, but on a larger scale. What does this all mean? A more cost effective, practical, and safer way to weld pieces together that yields a high tensile strength. The primary use, at least in the aerospace field: build high pressure tanks out of sensitive lightweight aluminum alloys.
I honestly hope to take a little detour from my project to play with this tomorrow. Seeing metal manipulated like play-doh is not something I'm used to. I'm still fascinated. And a little in shock. I think you can tell that this excites me.
However, fun metal molding aside, I have things to do. Finish the tubing, wire up my control box, and cast some fuel grains: that's the agenda for the next few days. Firing next week, too! (I hope)
April is my testing month, and I'm ready to get rolling.
Until next time,
Will